OpenVINO Ubuntu Xenial, Virtualbox and Vagrant Install, Intel NCS2 (Neural Compute Stick 2)

#OpenVINO Ubuntu Xenial, Virtualbox and Vagrant Install, Intel NCS2 (Neural Compute Stick 2)

Prerequsites

Download Latest VirtualBox from [https://www.virtualbox.org/wiki/Downloads] https://www.virtualbox.org/wiki/Downloads

Make sure to download extension pack

Oracle VM VirtualBox Extension Pack

Download and Install Vagrant from

[https://www.vagrantup.com/downloads.html] https://www.vagrantup.com/downloads.html

First step is to setup VM.

vagrant up

Vagrant is configured to apply all usb filters required to access Neural Compute Stick 1 and 2 inside Virtualbox Ubuntu Xenial VM

This will create VM on your host machine with name “OpenVinoVM”

This will also automatically download OpenVINO to /home/vagrant/openvino

Setup

Install OpenVINO Dependencies

cd /home/vagrant/openvino/l_openvino_toolkit_p_2019.1.094/ && sudo ./install_openvino_dependencies.sh

Install OpenVINO

cd /home/vagrant/openvino/l_openvino_toolkit_p_2019.1.094/ && sudo ./install.sh

This will have multiple manual steps like accepting license and selecting kind of installation

Default installation path the download configured in Vagrantfile

/opt/intel/openvino_2019.1.094

Setup Vars

source /opt/intel/openvino_2019.1.094/bin/setupvars.sh

echo “source /opt/intel/openvino_2019.1.094/bin/setupvars.sh” >> /home/vagrant/.bashrc

Install UDEV Rules

THese are required for USB to be activated and used

sh /opt/intel/openvino_2019.1.094/install_dependencies/install_NCS_udev_rules.sh

Update UDEV Rules are below

sudo vi /etc/udev/rules.d/97-myriad-usbboot.rules

I modified MODE to 666 from 660. OpenVINO has 660 as default.

SUBSYSTEM==“usb”, ATTRS{idProduct}“2150”, ATTRS{idVendor}“03e7”, GROUP=“users”, MODE=“0666”, ENV{ID_MM_DEVICE_IGNORE}=“1”

SUBSYSTEM==“usb”, ATTRS{idProduct}“2485”, ATTRS{idVendor}“03e7”, GROUP=“users”, MODE=“0666”, ENV{ID_MM_DEVICE_IGNORE}=“1”

SUBSYSTEM==“usb”, ATTRS{idProduct}“f63b”, ATTRS{idVendor}“03e7”, GROUP=“users”, MODE=“0666”, ENV{ID_MM_DEVICE_IGNORE}=“1”

Reload UDEV

sudo udevadm control –reload-rules && sudo udevadm trigger && sudo ldconfig

Configure Model Optimizer

cd /opt/intel/openvino_2019.1.094/deployment_tools/model_optimizer/install_prerequisites && sudo ./install_prerequisites.sh

If you dont want to run optimizer for all different kind of model you can choose specific optimizer

Example: sudo ./install_prerequisites_caffe.sh ( For Caffe Model)

Example: sudo ./install_prerequisites_tf.sh ( For Tensorflow Model)

Verify if USB is attached

Type lsusb

You should see some USB device with vendor id like

Bus 002 Device 002: ID 03e7:2485

Finally Test

cd /opt/intel/openvino_2019.1.094/deployment_tools/demo && ./demo_squeezenet_download_convert_run.sh

This should print something like this

Image /opt/intel/openvino_2019.1.094/deployment_tools/demo/car.png

classid probability label
817 0.8363345 sports car, sport car
511 0.0946488 convertible
479 0.0419131 car wheel
751 0.0091071 racer, race car, racing car
436 0.0068161 beach wagon, station wagon, wagon, estate car, beach waggon, station waggon, waggon
656 0.0037564 minivan
586 0.0025741 half track
717 0.0016069 pickup, pickup truck
864 0.0012027 tow truck, tow car, wrecker
581 0.0005882 grille, radiator grille

total inference time: 11.7261708

Average running time of one iteration: 11.7261708 ms

Throughput: 85.2793311 FPS

Downloading Public Model and Running Test

cd /opt/intel/openvino_2019.1.094/deployment_tools/tools/model_downloader/

List public models that are known to work with OpenVINO

python3 downloader.py –print_all

Download a specific model, say GoogLeNet V2

Make sure vagrant has access to folder

sudo chmod -R 777 /opt/intel/openvino_2019.1.094/deployment_tools/tools/model_downloader/

python3 downloader.py –name googlenet-v2

Convert Pretained Model to IR ( Intermediate Represenation. This can run on multiple hardware)

cd /opt/intel/openvino_2019.1.094/deployment_tools/tools/model_downloader/classification/googlenet/v2/caffe

Use model optimizer to convert googlenet.caffemodel to IR

/opt/intel/openvino_2019.1.094/deployment_tools/model_optimizer/mo.py –data_type FP16 –input_model googlenet-v2.caffemodel –input_proto googlenet-v2.prototxt

Deploy the converted IR model onto Intel NCS 2 using the toolkit’s IE API

cd /opt/intel/openvino_2019.1.094/deployment_tools/inference_engine/samples/python_samples

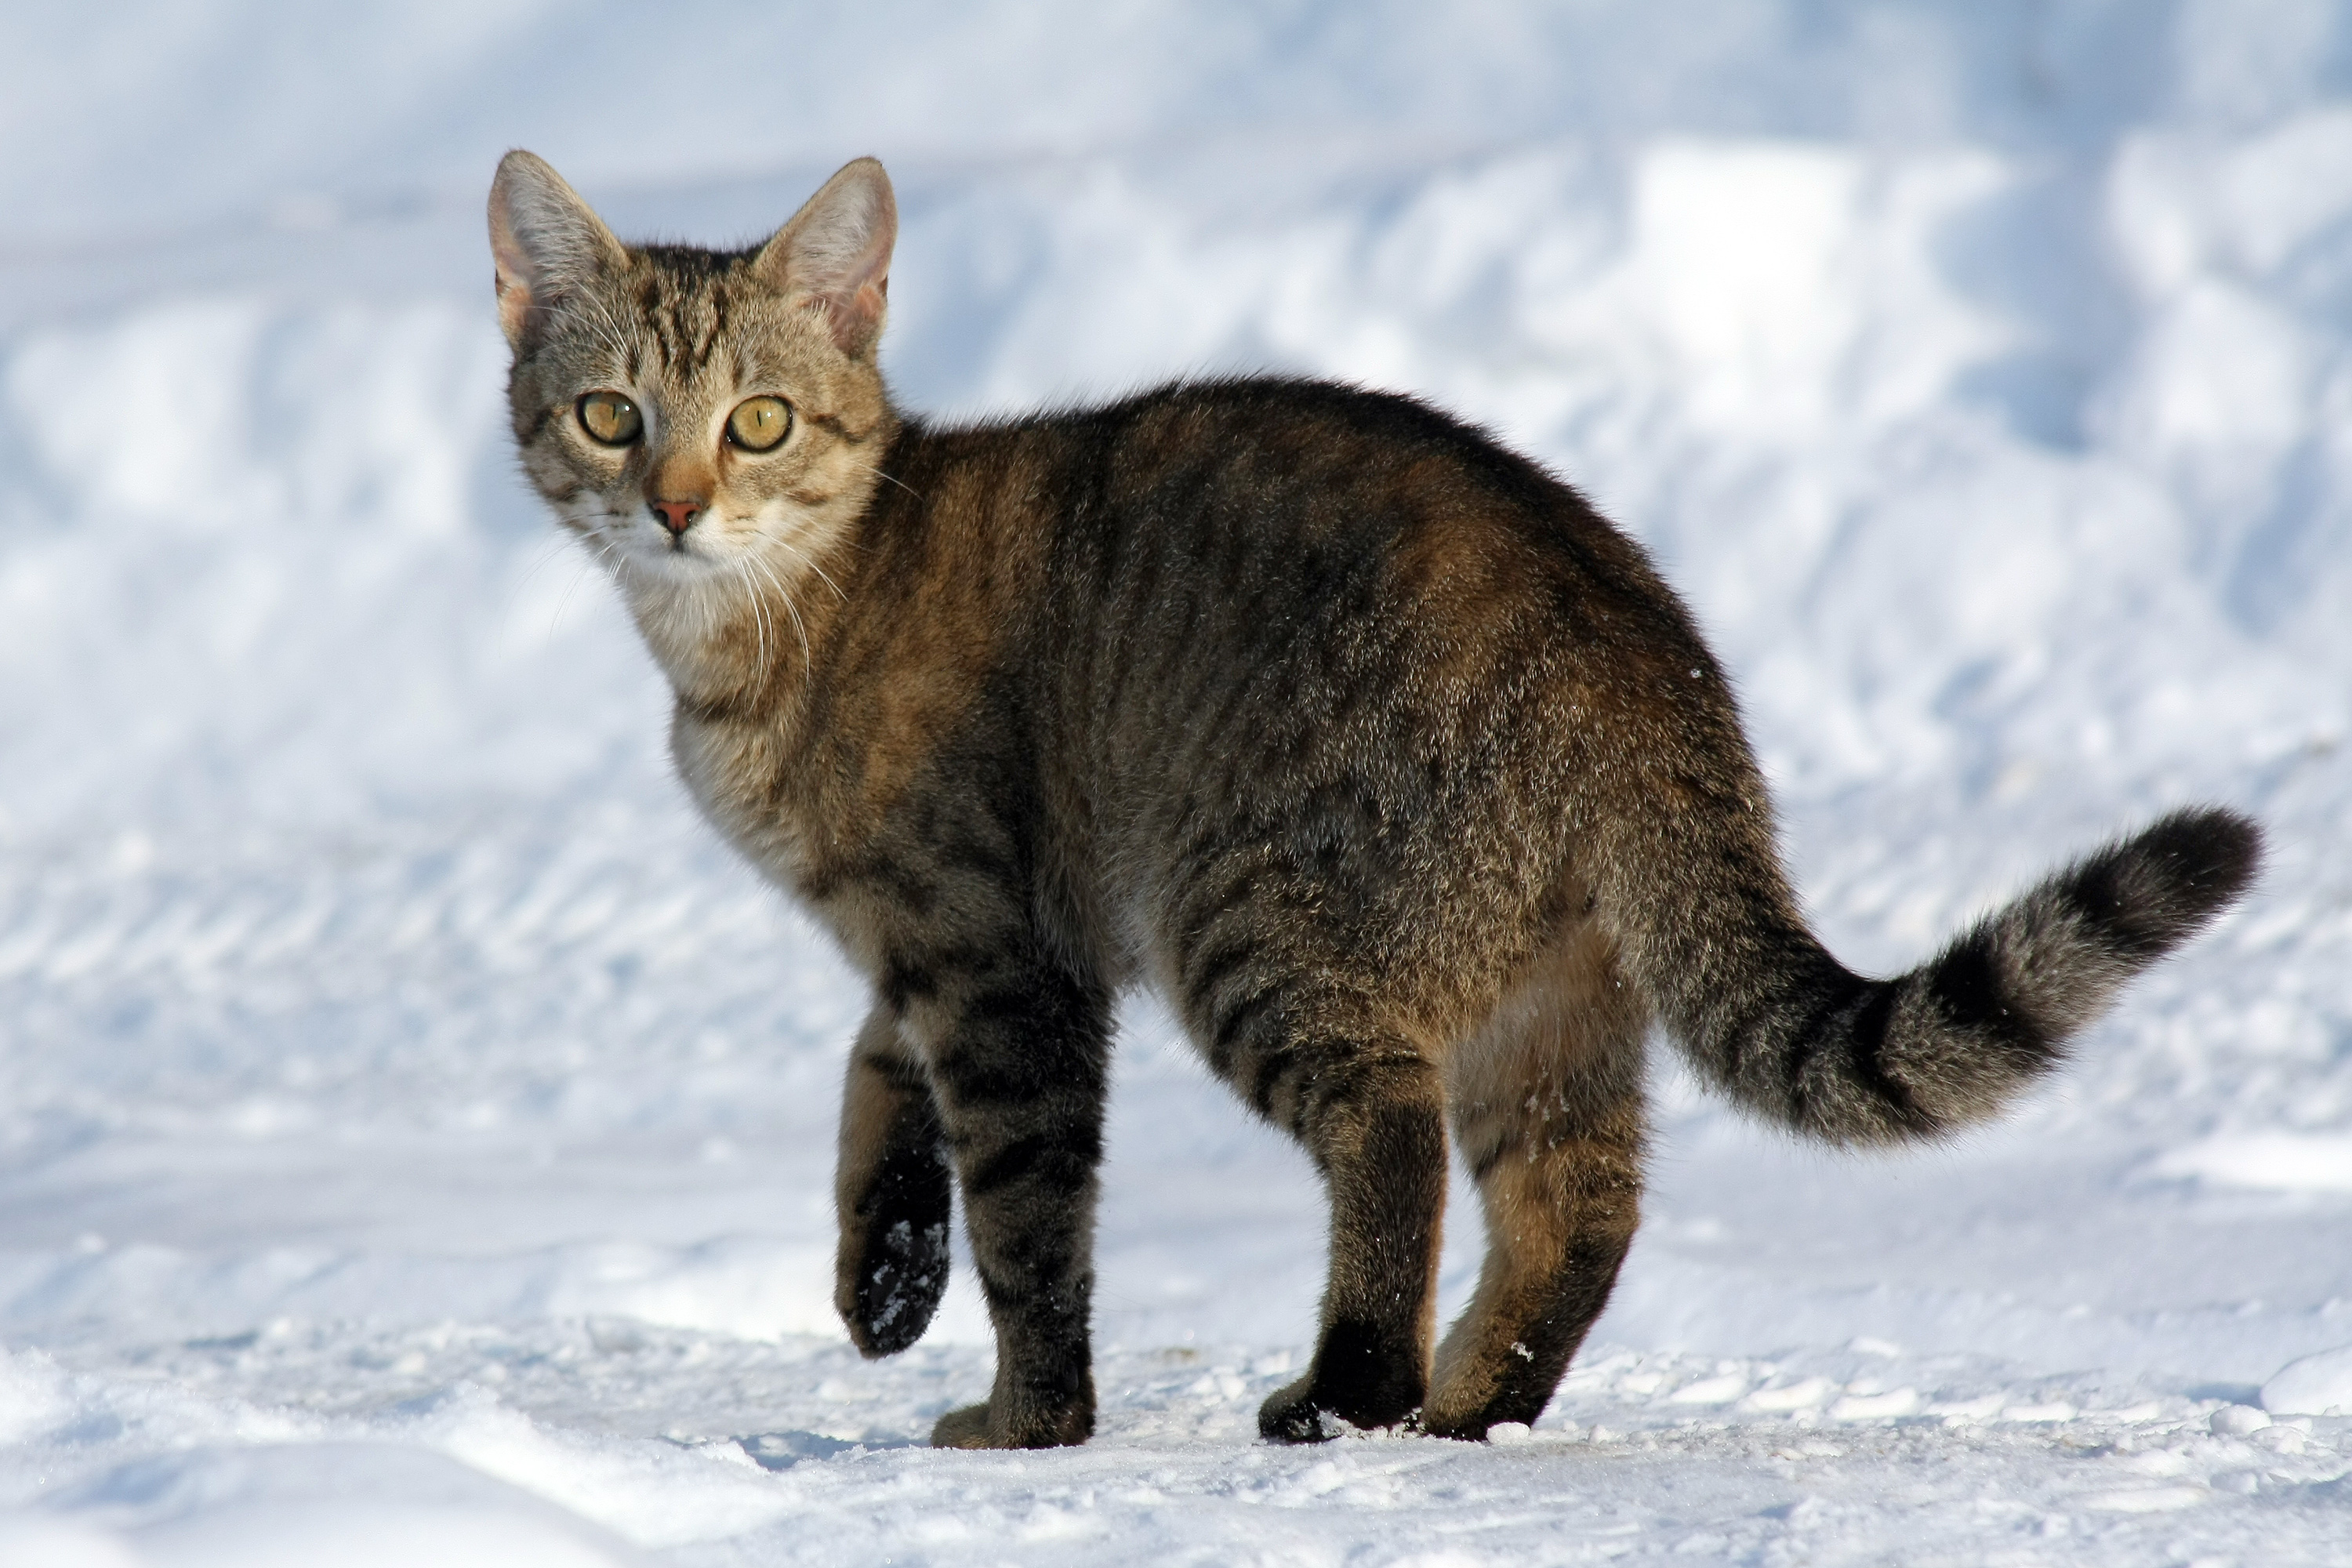
Download a test image from the internet

sudo wget -N https://upload.wikimedia.org/wikipedia/commons/b/b6/Felis_catus-cat_on_snow.jpg

Run an inference on this image using a built-in sample code

python3 classification_sample/classification_sample.py -m /opt/intel/openvino_2019.1.094/deployment_tools/tools/model_downloader/classification/googlenet/v2/caffe/./googlenet-v2.xml -i Felis_catus-cat_on_snow.jpg -d MYRIAD

This should give results like

Image Felis_catus-cat_on_snow.jpg

classid probability
173 0.4843750
54 0.2985840
7 0.1647949
200 0.0359497
66 0.0035839
10 0.0024872
473 0.0024281
84 0.0016794
198 0.0014591
152 0.0006762

Look at [GIST] https://gist.github.com/ashwinrayaprolu1984/7245a37b86e5fd1920f8e4409e276132

Next write up will be on Image Classification Using OpenCV and OpenVINO


Linux Networking Fundamentals Part 1

I’ve been working on setting up couple of host and guest machines at my home/office for last couple of years. I wanted to replicate real world scenario where we have multiple hosts on multiple subnet and still interacting with each other. While working on this i  found that lot of people are either not aware of basic concepts or confused because of abundant information available online. I want to simplify networking in a short concise manner all in single post.

I would also show application layers along with network layers to make it more clear. I see that these 2 department don’t have any common knowledge in common everywhere in industry. I would love my developers to understand network connectivity while designing distributed application or even basic non distributed applications.

There are 5 major components of that any company or network admin has to look at

  1. Gateway
  2. Firewall
  3. Switch
  4. Router
  5. Hub

and 2 basic concepts

  1. Nic Cards/ Network Interface Cards
  2. Subnets.


Gateway : This is the target applicance/device/machine to which source computer sends all its packets for any networking. Assuming there is only one network interface card in source computer. (Note: A machine can have any number of interface cards as hardware supports). If we use gateway we mostly need to add static routes to all machines

Firewall:  This generally sits between cloud/internet and private network which can control flow of data packets from inside/outside interfaces. Example: Cisco ASA Applicance.  Without a firewall every network is susceptible to brute force attacks and heavy load on systems. (This is funny link which shows how everyone around the world are trying to attach each other digitally  http://map.norsecorp.com)

Hub: This is a device to which all networking devices connect to. This is good for lab testing but not efficient way of connecting devices.Major disadvantage it has is that it broadcasts information sent from one device over common channel that is visible to all other devices connected to that hub. This also creates unnecessary bandwidth issues as it floods information to everyone irrespective of who it is destined to.

Switch: This is an efficient way of creating a minimal network. Switches have multiple sockets to connect different available in network. Switches separate communication channels between all devices which makes it very efficient in connecting devices.

Router:  As the name suggests it routes traffic between different networks. This generally sits coupled with gateway and knows where to send packets to. It stores all information in routing table and decides best possible route for given packet. Router automatically takes care of routing removing need for nodes to add static routes

Below diagram explain a very high level connection scenario’s

networklayout

If you observe in above diagram i’ve one network with subnet 192.168.1.0/24 connected to one switch and other network 10.0.0.1/24 connected to different switch.

Both of them are connected via a  router/gateway

And gateway is connected to internet via Firewall.

This explain a minimalistic design of any company.

We can have multiple layers of switches and router sitting on top of each other in tree fashion but basic concepts remain the same.

Now coming to NIC Card/Network Interface Cards

NIC: This is located in each and every networking device and enable the device to get connected via ethernet. These days we can create Virtual NIC cards on any Operating system which behave same as physical NIC. There are other concepts of NIC called Nic Teaming or Bonding which improve bandwidth and performance of Network IO apart from providing failover connectivity. I would explain all these concepts in details in subsequent series.

Subnet:  Subnets are single most important concept that allow us to segregate different kind of networks. Originally when networks originated in 80’s there was concept of Class Based Networking

Example: for 192.168.1.1

Class A:   Network portion is just 192 and rest  168.1.1 defines the node address

Class B:  192.168 defines network portion and rest 1.1 is node address

Class C: 192.168.1 defines network and remaining 1 represents node address

This approach was good till early 90’s but then issue of ip address exhaustion started.

Then IETF introduced a concept of CIDR (Classless Internet Domain Routing). With introduction of this approach now IP Address is never complete without Network Mask. Example 192.168.1.1 doesn’t represent a node unless we define netmask. So now ip address have to defined as 192.168.1.1/24  where 24 represents 24 bits which is prefix or network portion of above address.

With advent of Virtual Machines/Containerization of networks and Operating system like linux we can replicate all above devices with software code.

I would start explain each concept in detail and how to configure and build multiple computers and network routes in subsequent series.

Technologies i’m going to use and topic coverage in next couple of months. I’m going to write each one fresh using latest version so that my code is not outdated.

  1. Vagrant ( To manage Virtual machines)
  2. Oracle VirtualBox ( Virtual machine provider . We can also use HyperV or VMWare)
  3. Docker (Lightweight replica of VM which can provide similar features)
  4. CentOS/Ubuntu ( I’m going to use both flavors of linux in different devices)
  5. Linux Routing Table for basic
  6. Quagga/Zebra to create powerful router
  7. Iptables used as simple firewall
  8. OpenVPN to setup VPN connections.
  9. Chef/Berkshelf (One of the most versatile OS provisioner )
  10. Shell Scripting ( This is obvious)
  11. Apache/PHP/Mysql For a demo website
  12. Cassandra as demo database to show how data gets across different racks in out virtual data centers (VM’s on different networks).


I’ve already have one base version written which i’m going to reuse in bits and pieces.

https://github.com/ashwinrayaprolu1984/chef-lamp

Part 2 of the series is at

https://ashwinrayaprolu.wordpress.com/2016/10/01/linux-networking-fundamentals-part-2/


Install Virtualbox Extension Commandline

$(vboxmanage -v)

Gives version like this  5.1.4r110228

We need split above version with “r” and use those to generate our required filename

Then get the file from download. virtualbox. org/virtualbox/5.1.4/

Installing is just issuing this command

sudo VBoxManage extpack install <YOUR FILE> –replace

#!/bin/bash
version=$(vboxmanage -v)
echo $version
var1=$(echo $version | cut -d ‘r’ -f 1)
echo $var1
var2=$(echo $version | cut -d ‘r’ -f 2)
echo $var2
file=”Oracle_VM_VirtualBox_Extension_Pack-$var1-$var2.vbox-extpack”
echo $file
wget ***: download. virtualbox. org/virtualbox/$var1/$file -O /tmp/$file
#sudo VBoxManage extpack uninstall “Oracle VM VirtualBox Extension Pack”
sudo VBoxManage extpack install /tmp/$file –replace